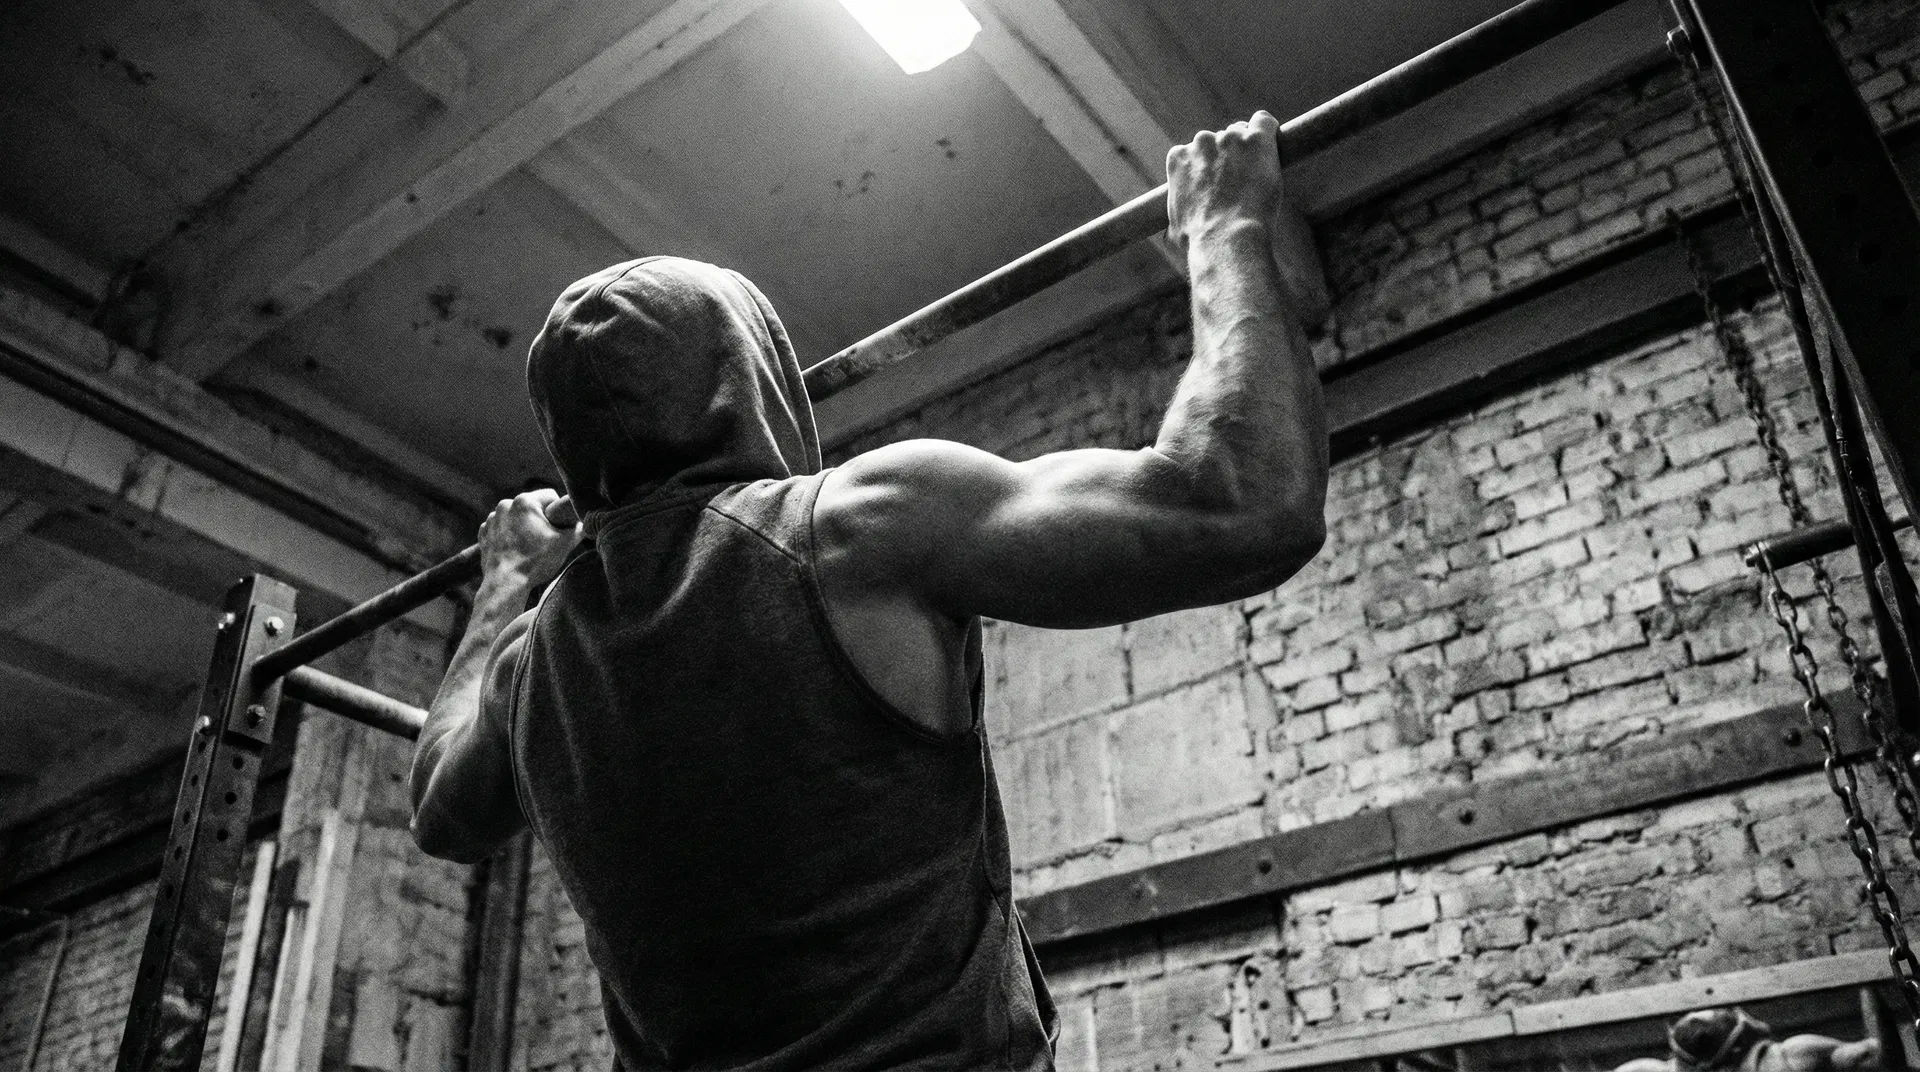
A chin-up uses an underhand grip with palms facing you. It trains the lats, biceps, forearms and trunk. The timeline varies with body mass, training history, grip strength, shoulder comfort and practice. Treat this plan as a starting point, not a promise.
Set up the movement
Use a secure bar that can support your body weight. Stand on a box if you need help reaching it. Take a supinated grip around shoulder width, or a little narrower if that feels better on your wrists. Wrap your thumbs around the bar.
Start with your arms straight and your body still. Keep your ribs down, gently brace your abdomen and keep your legs quiet. Pull your elbows towards your sides. Rise until your chin is over the bar without craning your neck. Lower with control until your elbows are straight, if that range feels comfortable.
A full range is a useful goal, but do not force a painful position. A shorter range can be a sensible temporary option while you build control. Avoid swinging, kicking and rushing the lowering phase. These can change the exercise and make it harder to judge progress.
A four-step progression
1. Build tolerance and pulling strength
Start with two or three sessions each week. Leave at least a day between hard pulling sessions. Choose a level that lets you keep a steady body position.
Dead hangs: Begin with 10 to 20 seconds for two or three sets. Stop before grip failure or shoulder pain.
Inverted rows: Pull your chest towards a secure bar. Raise the bar or bend your knees to make them easier. Try two or three sets of 6 to 12 controlled repetitions.
Scapular movement: From a supported hang, gently draw the shoulder blades down while keeping the elbows straight. Use two or three sets of 5 to 10 repetitions.
These are options, not tests. If a hang irritates your shoulder, use a supported version with your feet on a box or choose rows until you can tolerate hanging.
2. Practise the lowering phase
Step or climb to the top position. Keep your chin over the bar, then lower smoothly. Start with two or three sets of two to five repetitions. A lowering phase of about three to five seconds is a useful practice target, but it does not need to be exact.
Use enough rest to repeat the movement without dropping. If you cannot control the descent, use a higher box, a band or a lighter assistance setting. The goal is repeatable practice, not exhaustion.
3. Use assistance for full repetitions
A resistance band, assisted machine or foot on a box can reduce the load. Choose the option that lets you use the same controlled path.
Do two or three sets of 4 to 8 repetitions. Reduce assistance gradually, without swinging or losing shoulder control. Record the method because band strength and machine settings are not directly comparable.
4. Test an unassisted rep
After your warm-up, try one unassisted repetition while fresh. Keep the attempt clean. If you miss, return to assisted work rather than repeating maximal attempts until your grip or shoulders are tired.
Once you have one controlled rep, use small sets. For example, you might perform several sets of one repetition, then add a repetition to one set when that feels manageable. Rest as needed. The example is illustrative, not a real client result or a guaranteed programme.
How to progress
Progressive resistance training is the basis for getting stronger. The American College of Sports Medicine position stand recommends that programme choices reflect your goal, physical capacity and training status, rather than a single compulsory set, rep or frequency rule. Read the ACSM position stand.
For chin-ups, progress one variable at a time. You could use less band assistance, add one controlled repetition, add a set, or improve your range. Keep one or two repetitions in reserve when technique starts to deteriorate. When you can perform several sets of controlled repetitions, a small amount of added load may be appropriate. Build it gradually and keep the same standards for the start, finish and lowering phase.
Record your grip, assistance, repetitions and any symptoms. Compare your own sessions rather than treating a device score or a single workout as a diagnosis of readiness.
Pain and medical boundaries
Muscle effort and mild next-day soreness can occur. Sharp pain, increasing joint pain, numbness, unusual weakness or a feeling of instability is a reason to stop and seek assessment from a qualified health professional. Stop exercise and seek prompt medical help for chest pain, unusual shortness of breath or light-headedness. Harvard Health lists these as warning signs that should not be pushed through.
If you have a recent shoulder, elbow, wrist or neck injury, a diagnosed condition, or medicines that affect exercise tolerance, ask your doctor or physiotherapist how to modify the movement. This article is general education, not an individual diagnosis or treatment plan.
For related training context, read the performance insights. If you want individual programming, use apply for coaching. You can also take the Performance Assessment for a broader review of strength and performance measures.
Sources
Related resources
Want protocols like these, personalised for you?
If you are ready to work together, apply directly. Otherwise, take the free assessment to see where you stand.